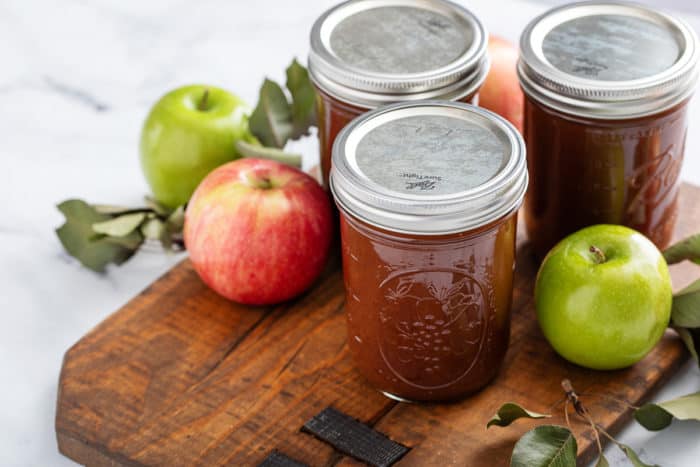
A Guide to Canning Apple Butter
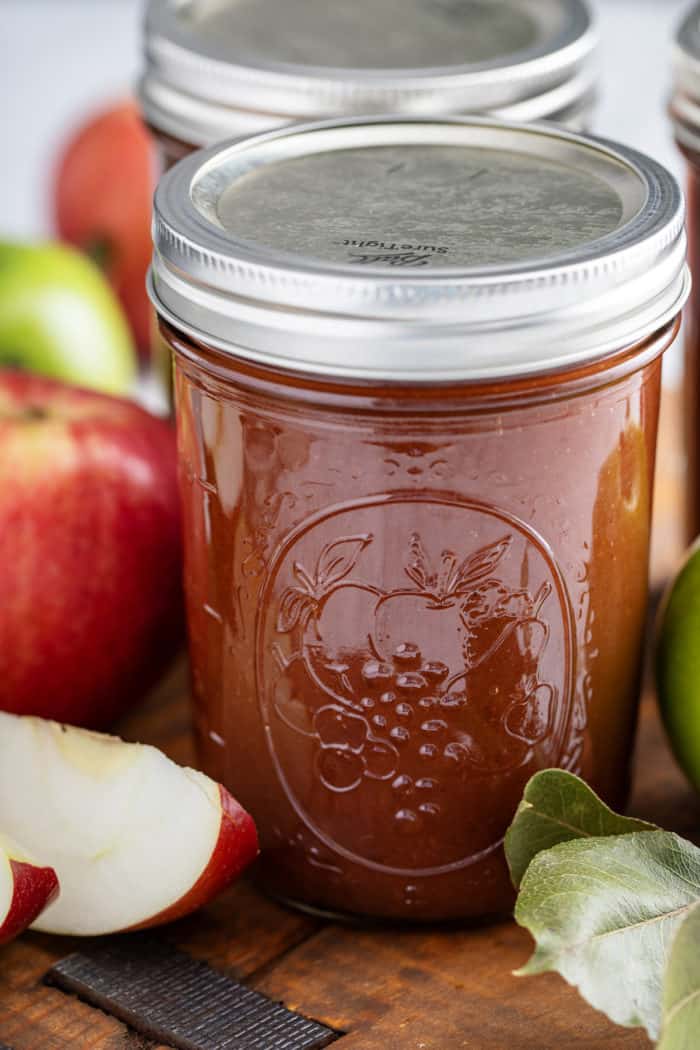
Want to store your homemade apple butter long-term but don’t have freezer space? Learn how to can apple butter and enjoy this fall favorite all year long.
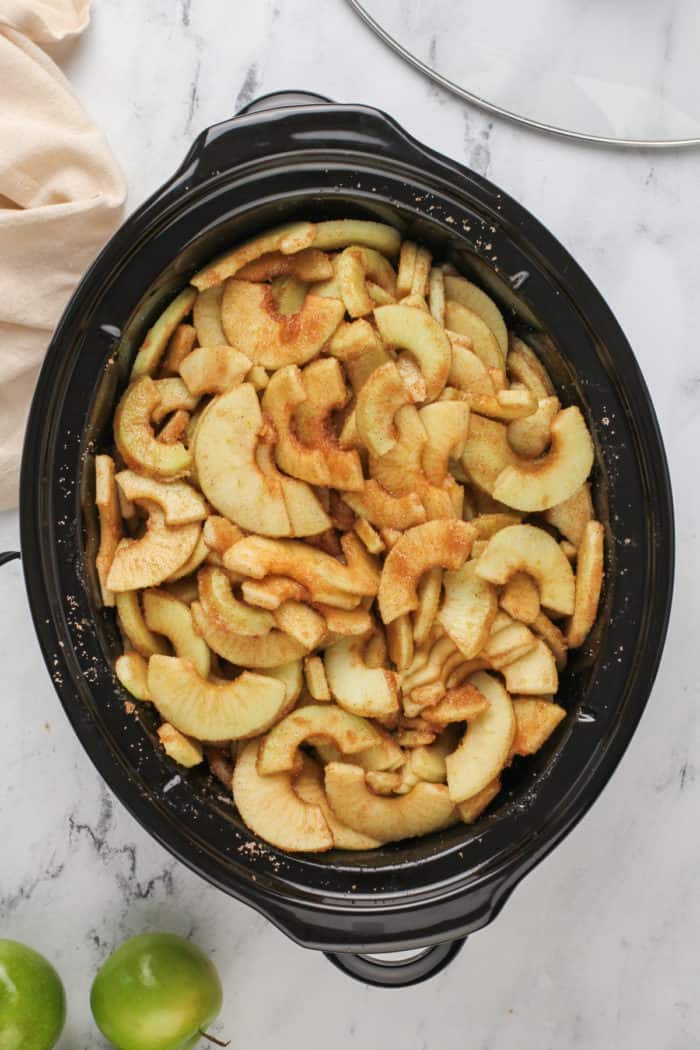
Without a doubt, my most popular recipe this time of year is my slow cooker apple butter. And there’s really no question why! It’s incredibly easy and absolutely delicious.
One of the most common questions I receive about the recipe is: Can I can this apple butter?
I didn’t grow up learning to can food, so it always seemed intimidating to me. However, I reached out to my friend Megan to help me learn the essentials of canning my apple butter.
While I may not become a master canner, it’s reassuring to know how to preserve one of my favorite fall treats without occupying freezer space.
Why Can Apple Butter?
Previously, I stored my homemade apple butter in the fridge for up to two weeks or in the freezer for up to three months.
These methods have their downsides. Storing in the freezer requires space, which many people may not have. Additionally, while it lasts for three months, freezer burn can become an issue after that, leaving you without apple butter by spring or summer.
By canning apple butter, you can simply store it in the pantry for up to 18 months! My friend Rebecca offers some canning basics tips for knowing when your canned food has gone bad. For beginners, Food in Jars is also a fantastic resource.
Canned apple butter makes an excellent gift for family and friends or as a hostess gift during Thanksgiving, without the worry of refrigeration or freezing.
How to Can Apple Butter
If you’ve never canned before, I understand that it can seem intimidating. However, I assure you it’s not as daunting as it appears.
We’ll be using a water-bath canning method for this recipe. It’s much less intimidating than pressure canning and requires fewer specialized tools.
Once you try it out, you might feel inspired to learn how to make pickles and explore other canning possibilities!
What You’ll Need
You’ll obviously need a batch of homemade apple butter. Since apples are naturally acidic, you won’t need to modify my apple butter recipe prior to canning.
You can even utilize my Instant Pot apple butter recipe if you prefer.
As for the tools, you will need:
- A large stockpot or canning pot, ample enough to ensure at least three inches of space between the tops of your jars and the top of the pot.
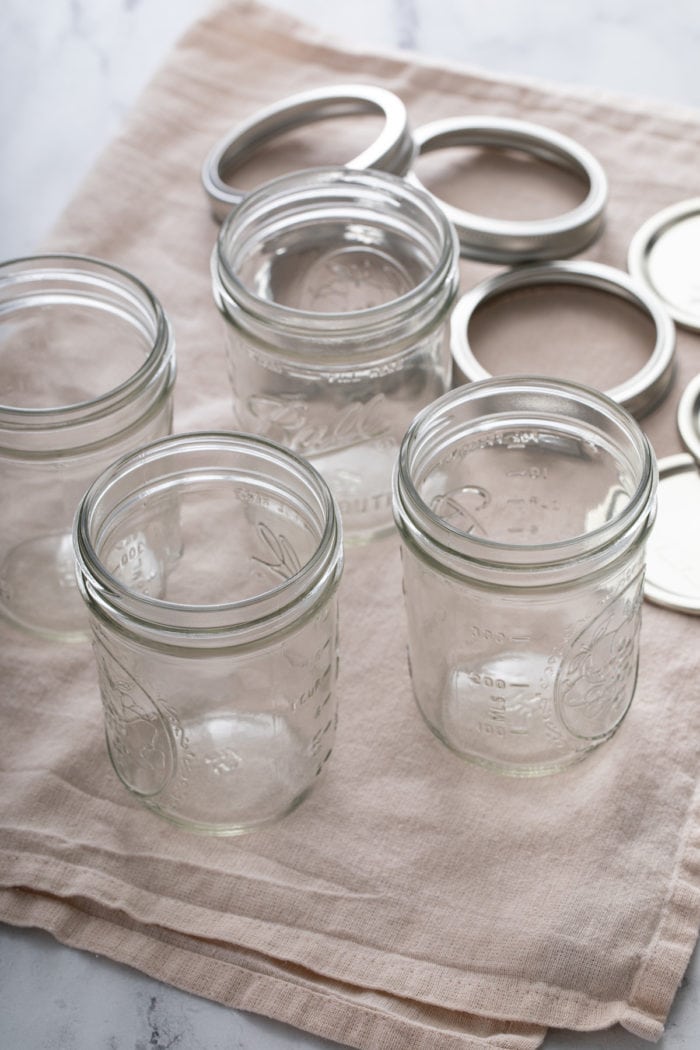
- 4 pint jars or 8 half-pint jars with brand new lids and rings.
- Tongs to dunk the jars into the hot water.
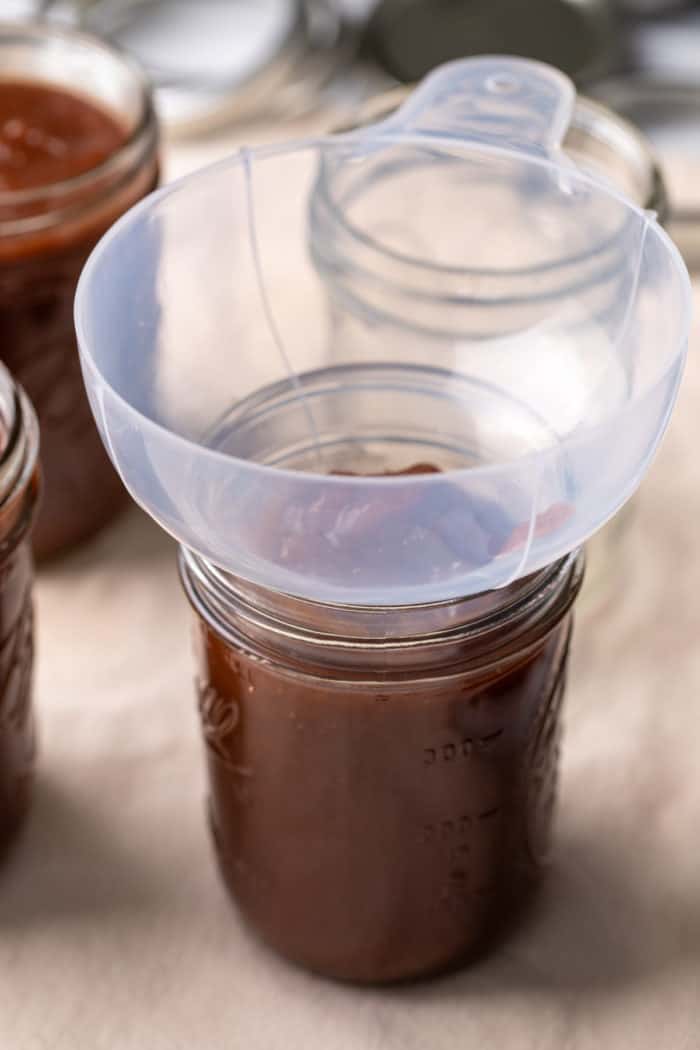
- A ladle and wide-mouth (canning) funnel for filling the jars.
- A chopstick or kitchen dowel to eliminate any air bubbles.
- A jar lifter for lowering the filled jars into the water.
I’ve linked a recommended set in the recipe card below that includes everything you’ll need, excluding jars and lids, which can be found at most grocery or hardware stores.
Canning the Apple Butter
Before you start, ensure your jars and equipment are exceptionally clean. Use hot, soapy water or run everything through a dishwasher.
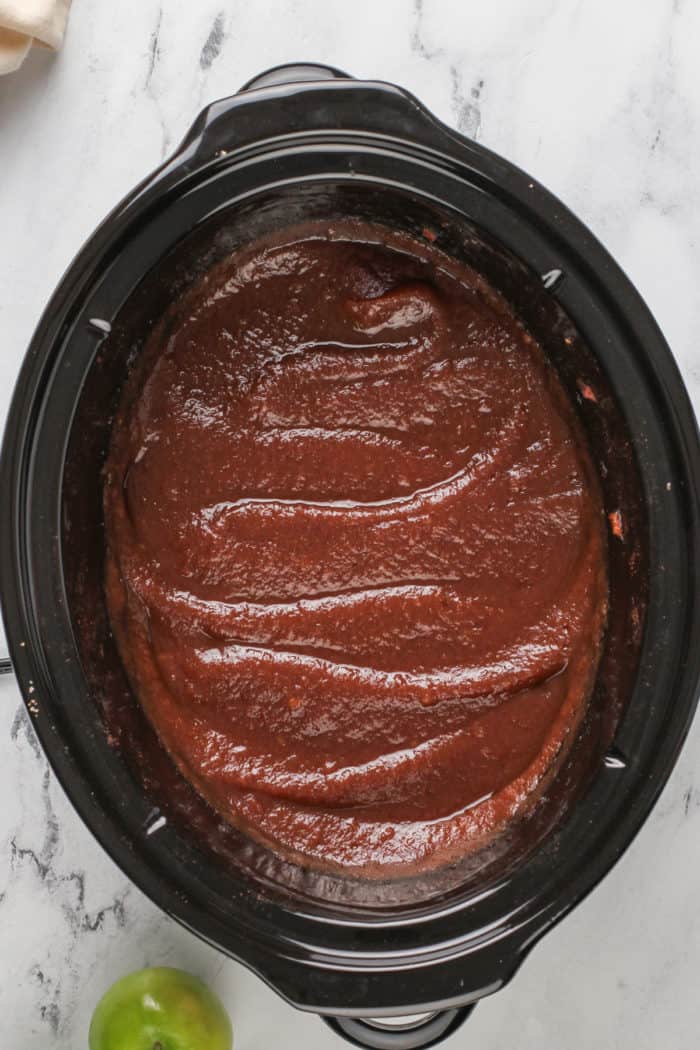
Your apple butter should be freshly made and hot when filling the jars, so have everything prepared beforehand.
Fill your stockpot or canning pot with water, making sure there’s enough to cover the filled jars by at least one inch.
Cover the pot and bring it to a boil.
Place a clean kitchen towel on the countertop and lay out your jars, lids, and rings.
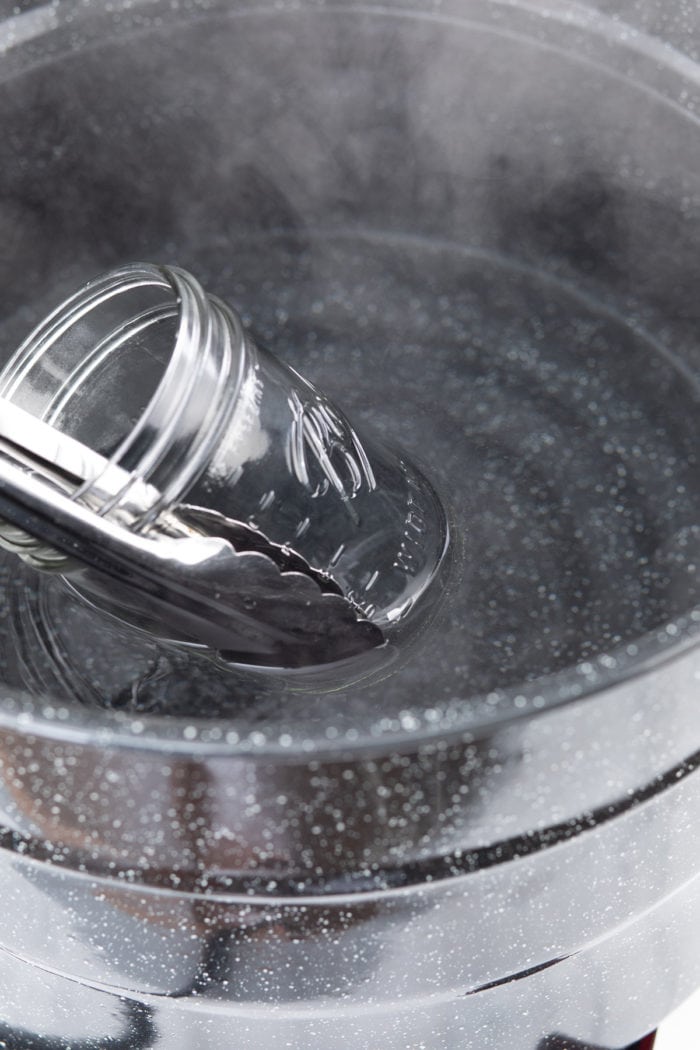
Using tongs or a jar lifter, dunk the jars in hot water, empty them, and place them back on the towel. This step warms the jars, reducing the risk of cracking when adding the hot apple butter.
Ladle the hot apple butter into the jars, leaving ¼ inch of space at the top, and use a chopstick to gently remove any trapped air bubbles.
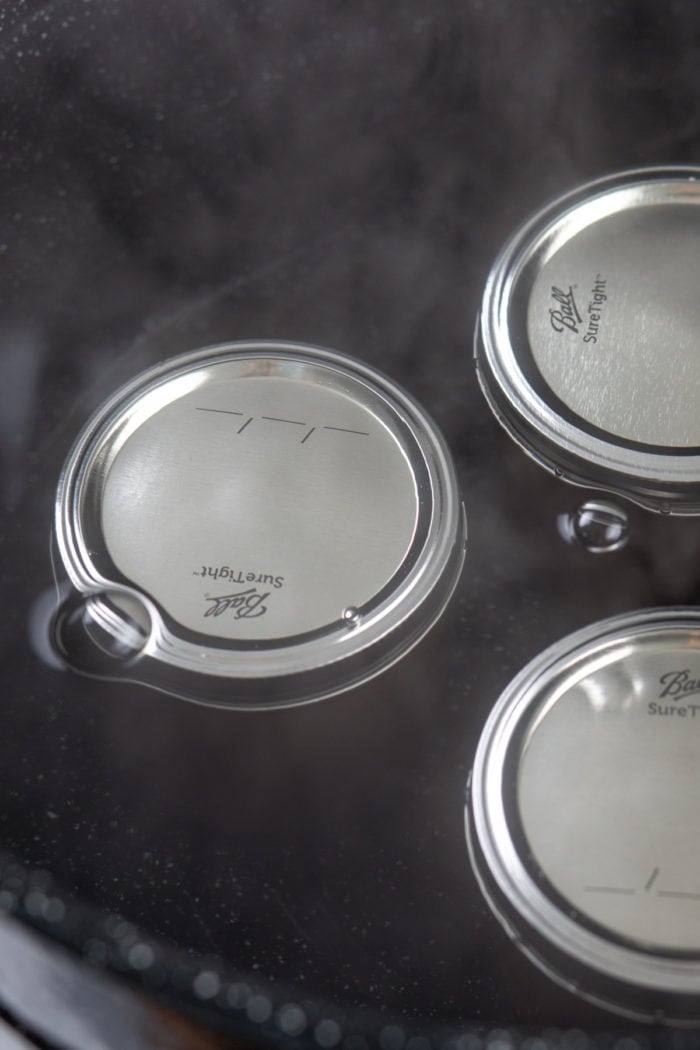
Wipe the rims of the jars clean with a damp paper towel, apply the lids, and screw the rings on until they’re fingertip tight—secure, but still easily unscrewed.
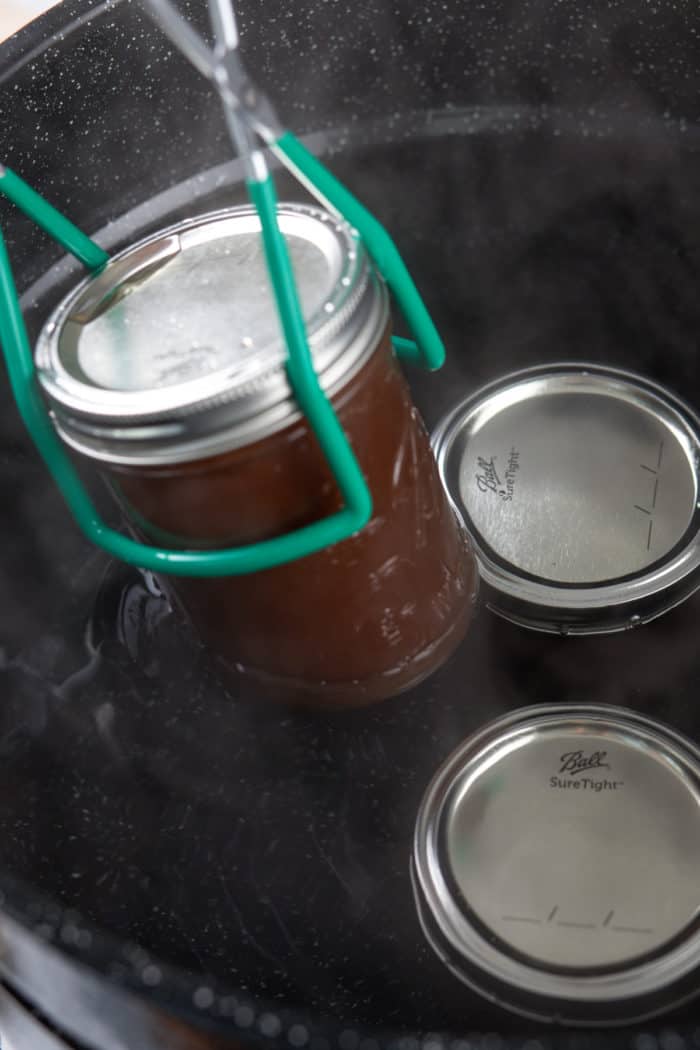
Carefully lower the jars into the boiling water using your jar lifter.
Return the water to a boil and cover the pot. If using pint jars, boil them for 15 minutes; for half-pint jars, boil for 10 minutes.
After the required time, turn off the heat, leaving the jars in the water for an additional 5 minutes. Carefully remove the jars and place them on the towel.
Let the jars rest, undisturbed, for 24 hours. You may hear a pinging noise as they seal, so don’t be alarmed.
After 24 hours, check the seals, label the jars, and store them in the pantry for up to 18 months.
Any jars that do not seal correctly can still be consumed, but should be refrigerated for up to two weeks.

Uses
Looking for delightful ways to use your canned apple butter? Try it atop a toasted English muffin or a warm, buttery buttermilk biscuit.
But breakfast isn’t the only use! Swap cranberry sauce for apple butter in cranberry brie bites for a tasty Thanksgiving appetizer.
Or use it to create a delicious apple butter BBQ chicken sandwich!
Don’t forget about charcuterie boards—adding a small bowl of apple butter alongside your favorite cheeses, meats, and crackers creates an incredible display.
With so many tasty applications, there are countless delicious reasons to learn how to can apple butter!