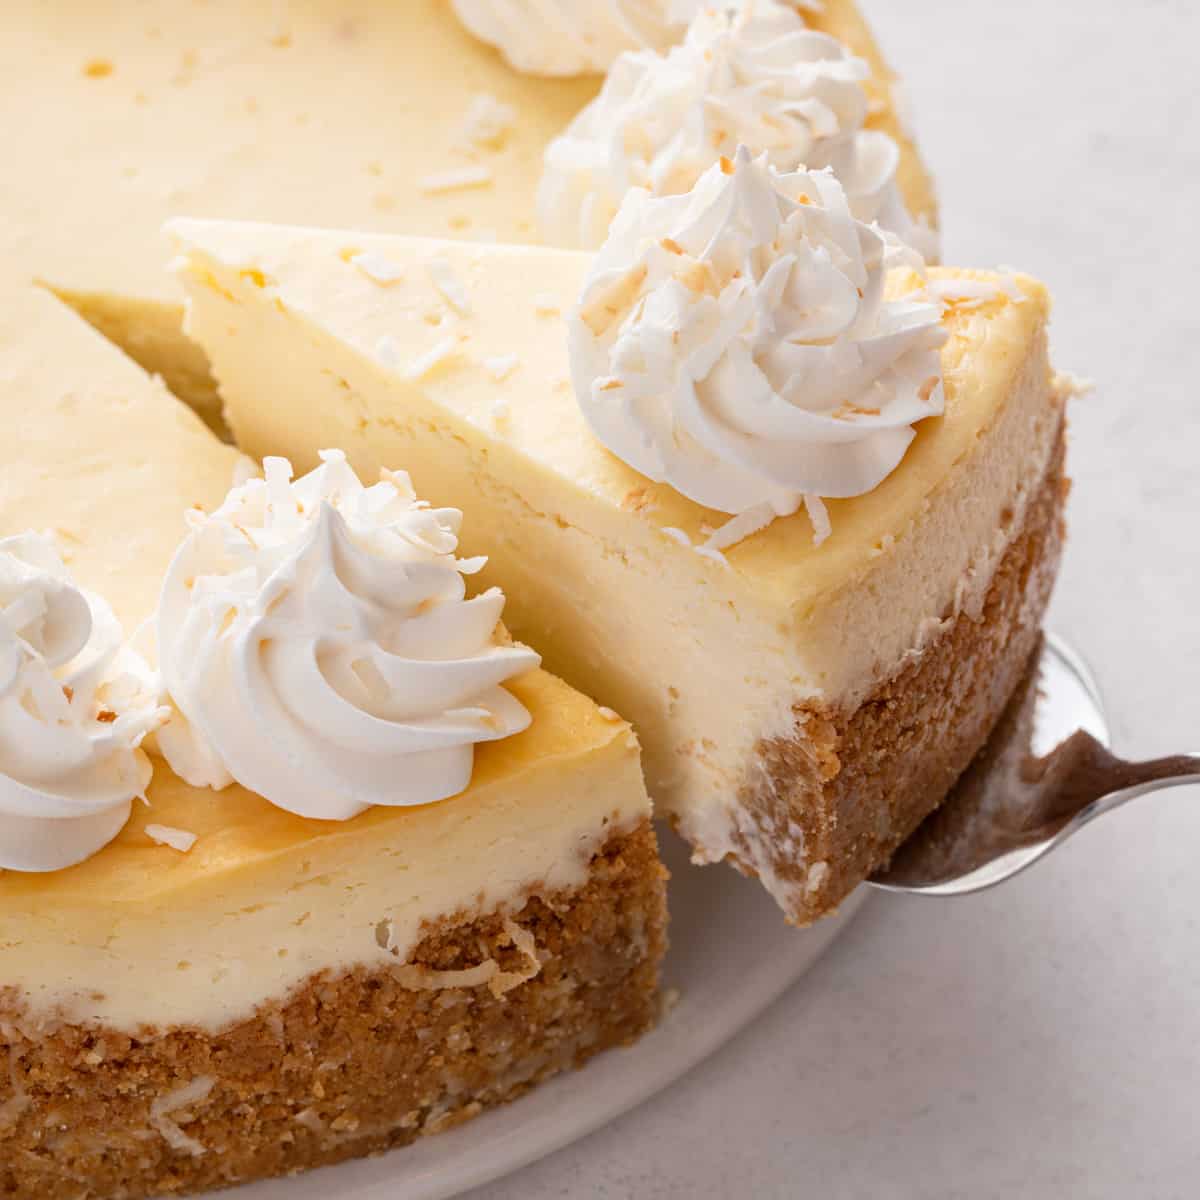
Coconut Cheesecake: A Delightful Indulgence in Baking
With a coconut graham cracker crust and rich and creamy filling, this coconut cheesecake is the ideal cheesecake for anyone who loves coconut.
At this point, my neighbors and family members all know to expect me to show up at their door on a pretty regular basis with baked goods.
Don’t get me wrong: my immediate family loves eating the recipes I make, but there’s only so much we can eat in a week.
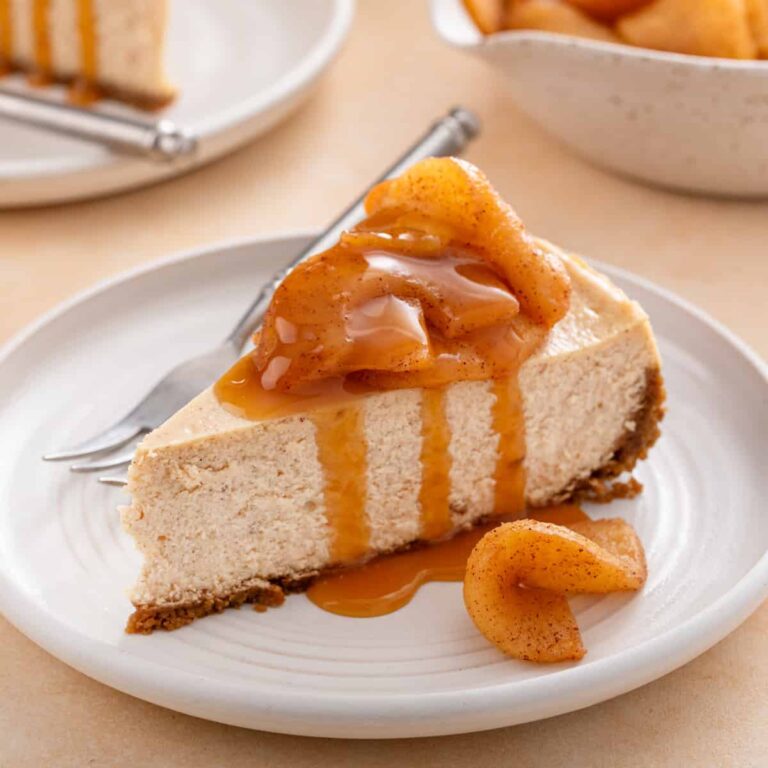
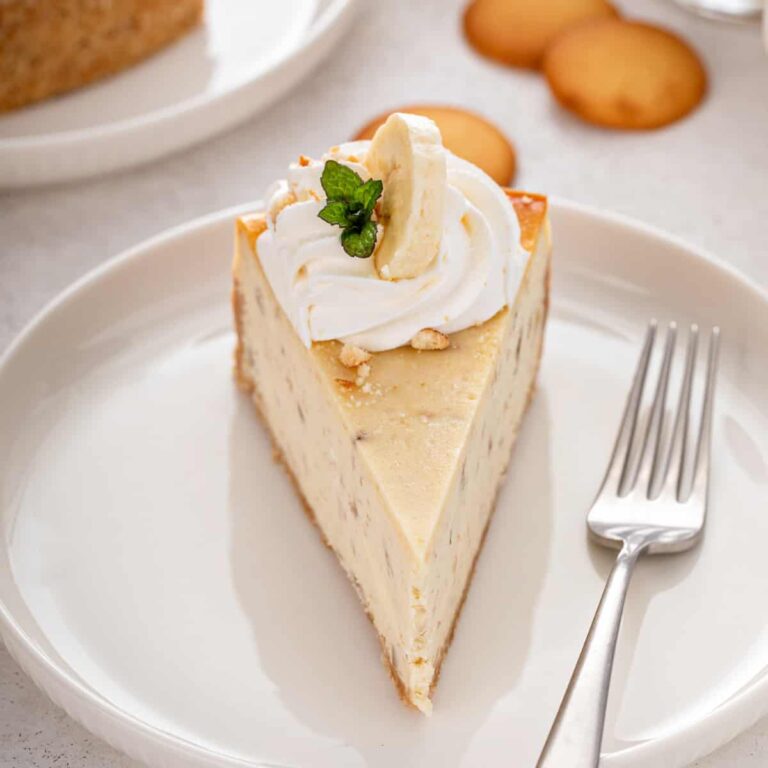
I think my neighbors get extra excited when it’s a cheesecake testing week. Whether it’s banana pudding cheesecake, caramel apple cheesecake, or this coconut cheesecake, they are all happy to take a slice or two off my hands.
So I guess it’s a good thing that I can’t get enough of riffing on my vanilla cheesecake recipe. If you love cheesecake as much as my neighbors and I do, you’ve come to the right place.
My Rich Coconut Cheesecake Recipe
I believe that if a recipe says “coconut” in the name, it should be FULL of coconut.
Like if you’re going to make a coconut cake or coconut cream pie, it shouldn’t just be a white cake or vanilla pudding with some coconut in it or sprinkled on top. There should be actual coconut in nearly every component of the recipe.
So, of course, I approached this coconut cheesecake in the exact same way.
I started off with a graham cracker crust with added coconut. For the filling, I added coconut milk, flaked coconut, and a bit of coconut extract.
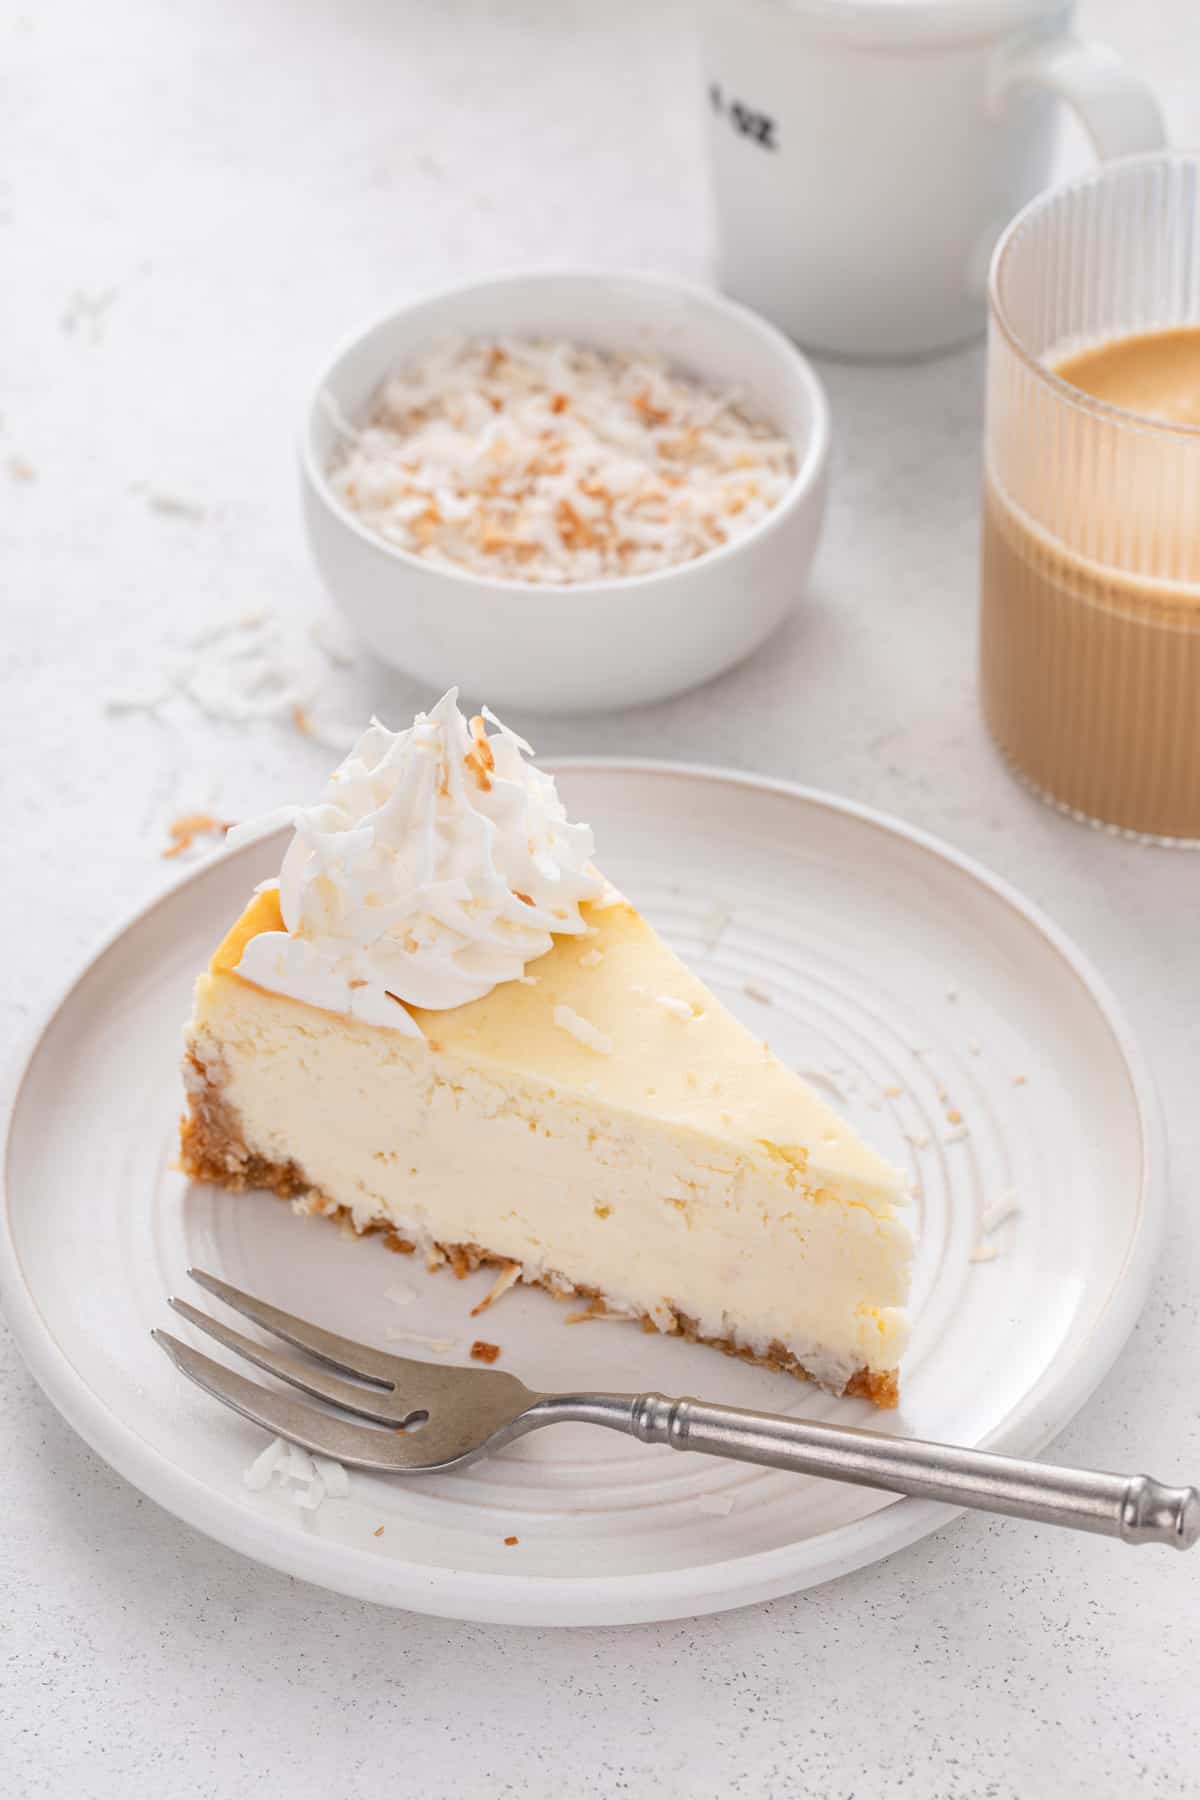
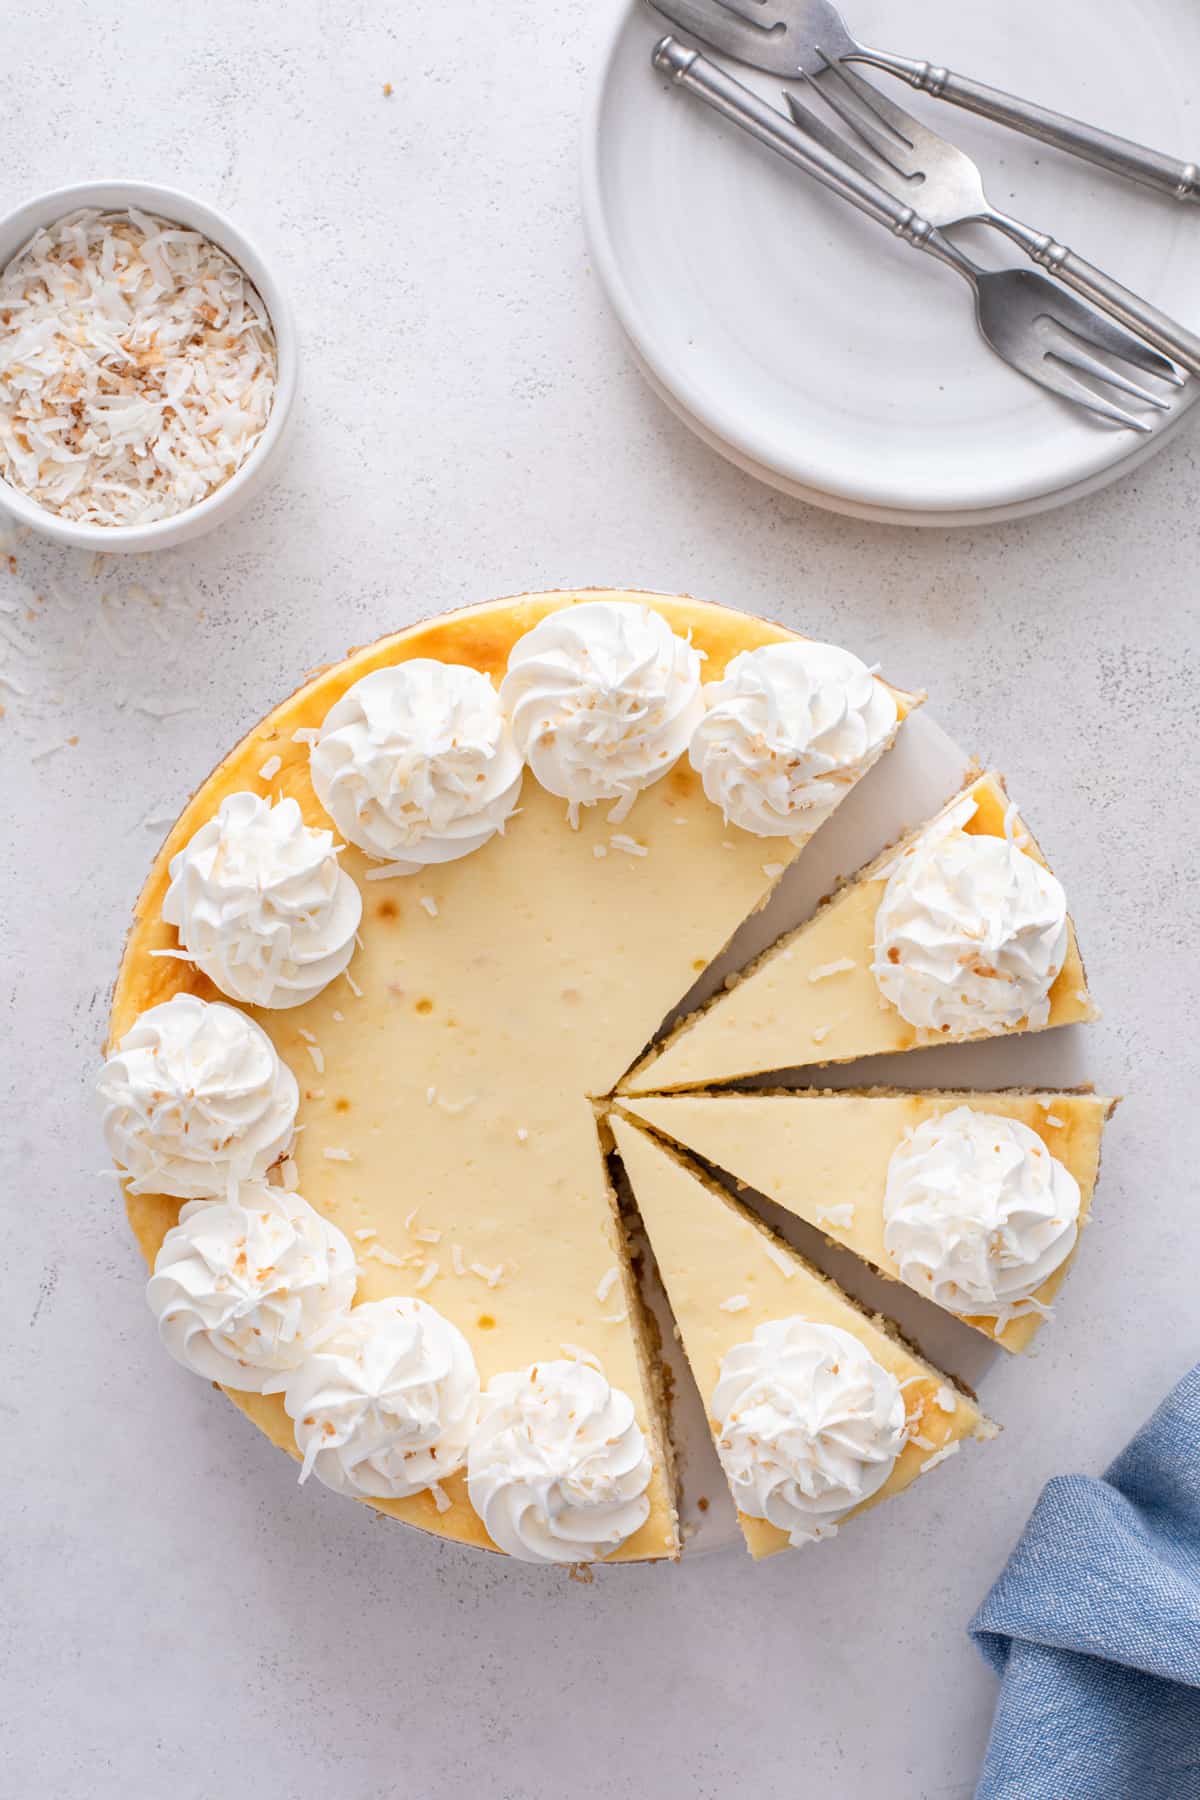
And for serving, my favorite way to finish this beauty is with a dollop of coconut whipped topping and some toasted coconut.
You get a lovely coconut flavor in each bite of this cheesecake. But don’t worry, it isn’t so strong that it tastes like sunscreen – it’s just the right amount for anyone who loves coconut desserts.
If you’re heading to any cookouts this summer, add this to your list of must-take desserts along with lime coconut cake, key lime pie bars, and pineapple fluff for all of your favorite tropical flavors.
How to Make Coconut Cheesecake
If you’ve never made a cheesecake before, don’t be intimidated by the idea of making this coconut cheesecake. I’ll walk you through all of the steps, so you can feel confident making this recipe!
Ingredients You’ll Need
The crust for this coconut cheesecake is a pretty standard graham cracker crust with some flaked coconut added to it. You will need:
- 1 ¾ cups graham cracker crumbs
- ½ cup flaked unsweetened coconut
- 3 tablespoons granulated sugar
- 6 tablespoons melted unsalted butter
You can buy graham cracker crumbs at the store, but I typically just pulse full graham crackers in my mini food processor. If buying the crumbs is easier for you, go for it!
If you only have sweetened coconut, just keep in mind that the crust will be a little bit sweeter than if you use unsweetened coconut.
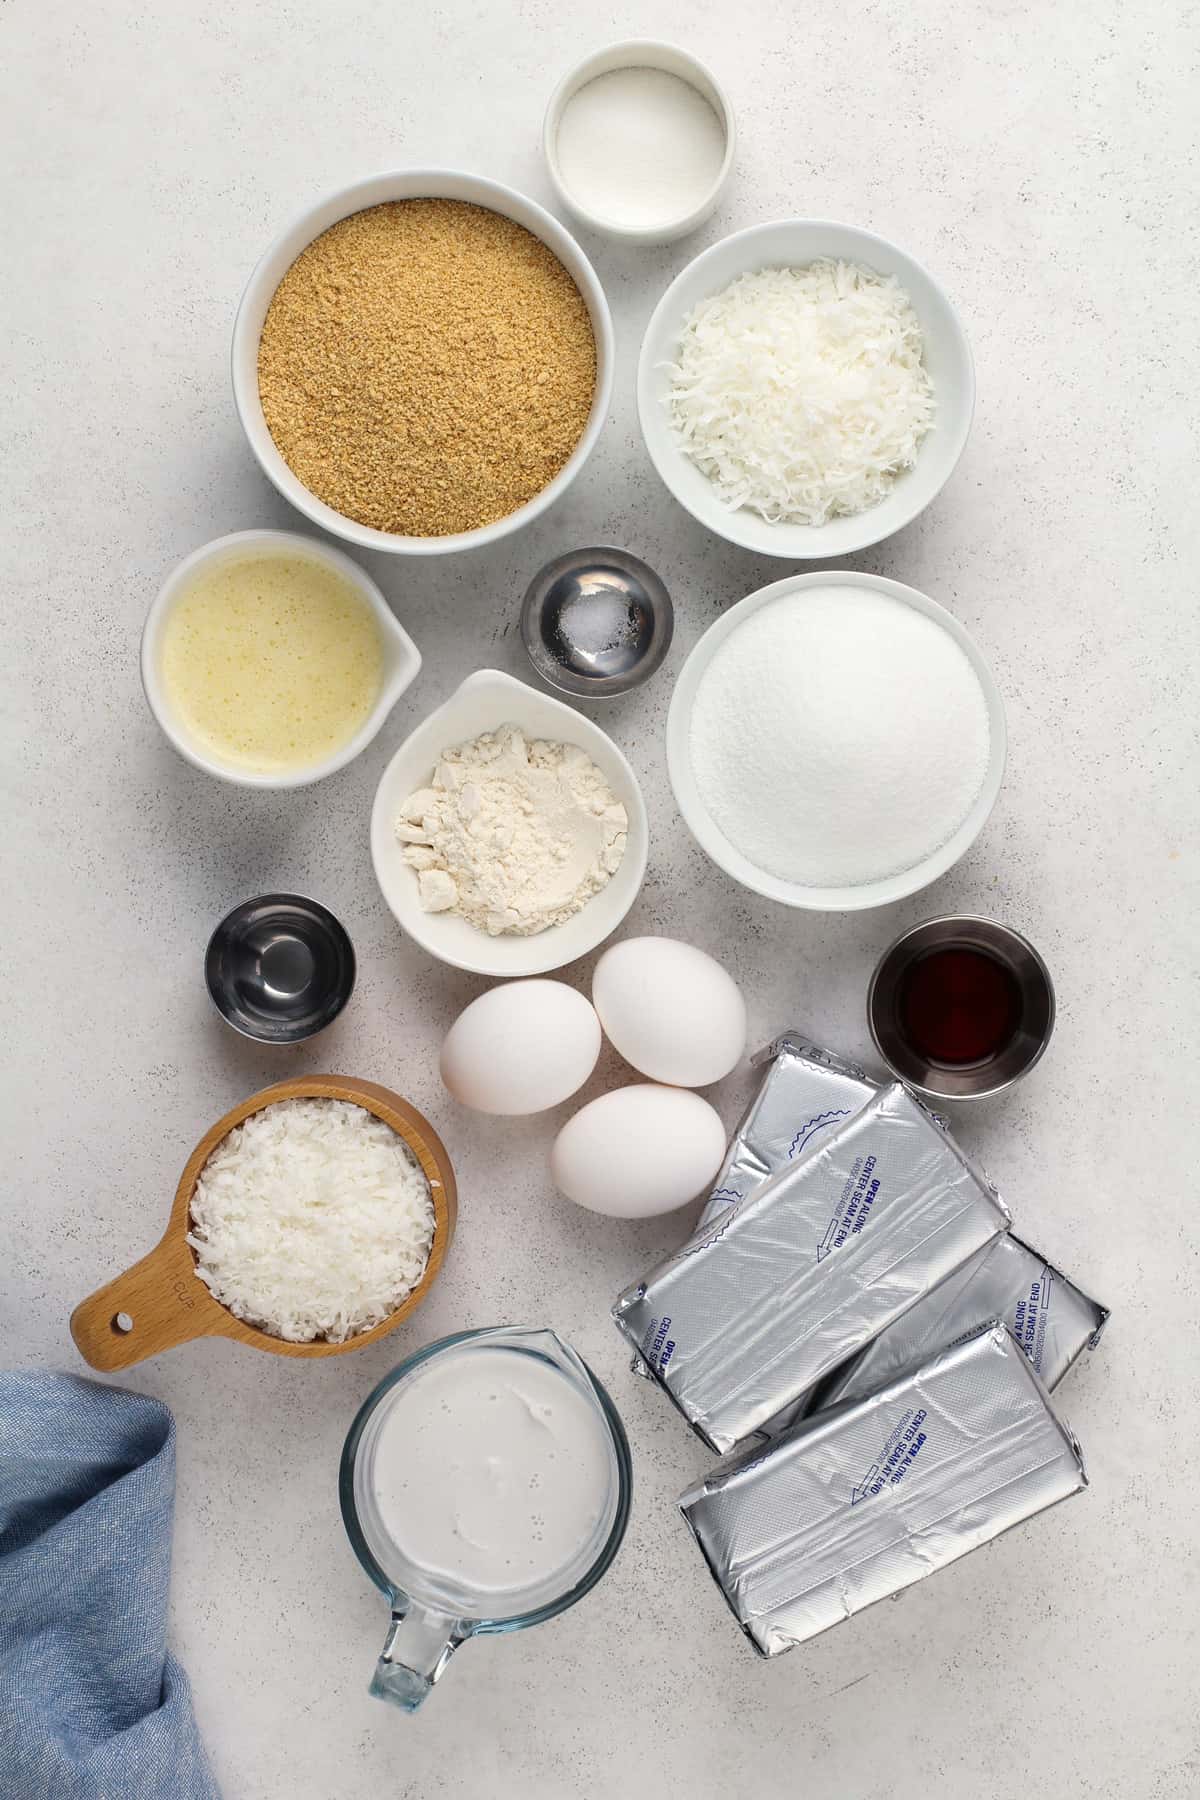
For the cheesecake filling, you will need:
- 4 8-ounce packages of room-temperature cream cheese
- 1 cup granulated sugar
- ⅔ cup unsweetened full-fat coconut milk
- 3 large eggs
- 2 teaspoons vanilla extract
- 1 teaspoon coconut extract
- 3 tablespoons all-purpose flour
- Pinch of salt
- 1 cup flaked unsweetened coconut, pulsed several times in a food processor
For the creamiest filling, ensure your cream cheese is fully softened before you start making the filling. If you forget to set yours out ahead of time, I have a few tips on softening cream cheese to help speed up the process.
This filling uses coconut milk, coconut extract, and flaked coconut. Make sure you use the canned coconut milk; Thai Kitchen is my favorite brand. Don’t use the cartoned stuff in the refrigerated section for this recipe.
Recipe Tip
I like to pulse the flaked coconut in the food processor before adding it to the filling. This prevents you from having long pieces of coconut in the cheesecake and gives the filling an overall smoother texture.
Making This Recipe
Before you start making this coconut cheesecake, prepare your pans for the water bath.
You can wrap the outside of your springform pan in foil, but here’s my favorite way to do a water bath instead: place a 9-inch springform pan inside of a regular 10-inch cake pan.
Now you can place both cake pans in a roasting pan when you’re ready to do your water bath. You’ll get all of the benefits of baking cheesecake in a water bath without the risk of leaks!
Spray the inside of the springform pan with nonstick spray and set it aside.
Instructions
- Preheat the oven to 350°F.
- Tightly wrap a 9-inch springform pan in heavy-duty foil. Lightly spray the inside with nonstick cooking spray and set aside.
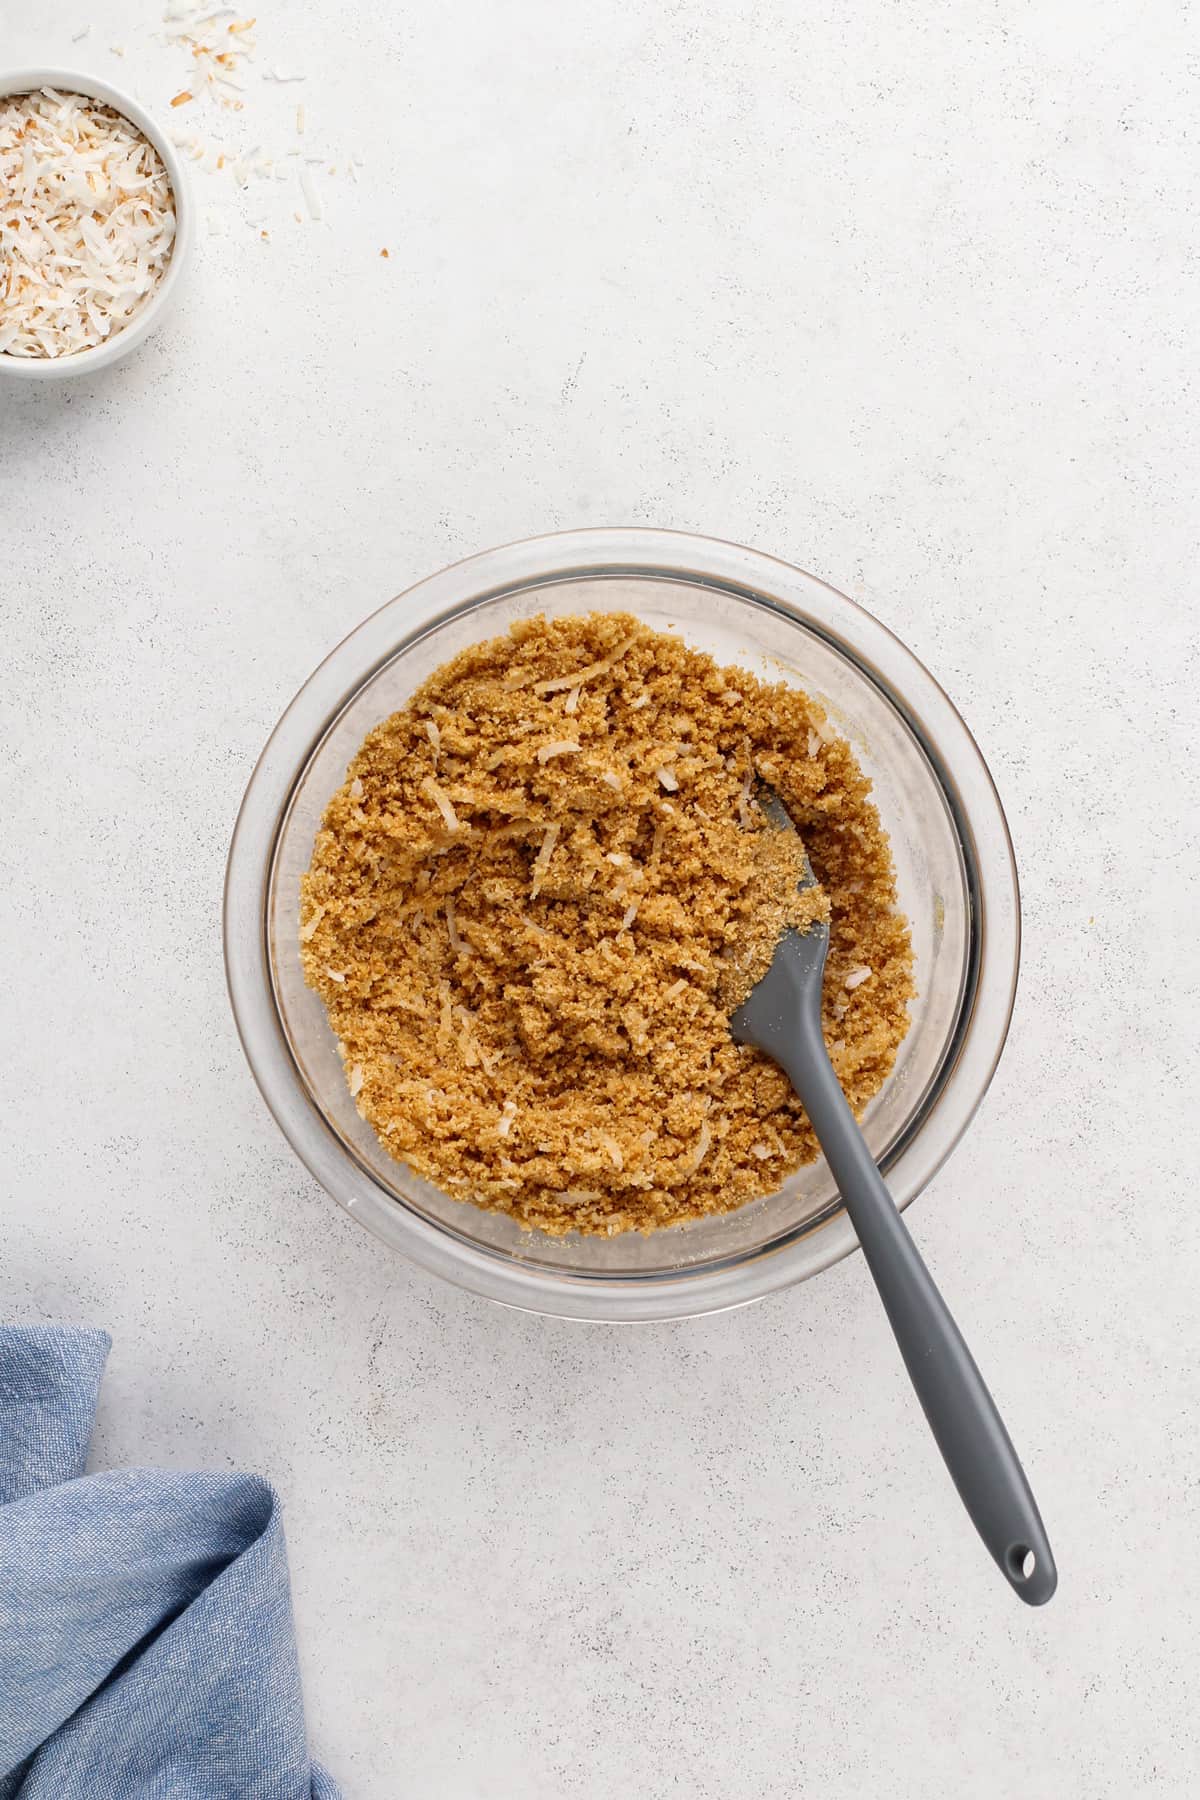
- In a bowl, stir together the graham cracker crumbs, flaked coconut, and granulated sugar. Add the melted butter and stir to combine.
- Press the crust mixture into the bottom and ½ inch up the sides of the prepared springform pan. Bake for 8 minutes. Set aside to cool.
- In the bowl of a stand mixer, beat the cream cheese until smooth. Add sugar and mix until combined. Add coconut milk and mix until incorporated. Add eggs one at a time, fully incorporating each.
- Finally, add vanilla, coconut extract, flour, and salt; beat until smooth, then stir in the coconut. Pour batter into the prepared crust.
- Place the springform pan in a roasting pan and pour boiling water until it reaches halfway up the sides of the springform pan. Bake for 65-70 minutes.
- Turn off the oven, crack the door, and let the cheesecake rest in the oven for 1 hour.
- After one hour, remove the cheesecake from the water bath and cool completely on a wire rack. Refrigerate for at least 8 hours before serving.
Storage Tips
Coconut cheesecake will keep in the refrigerator for up to 3 days. Wait to garnish it until just before serving.
For longer-term storage, freeze the cheesecake tightly wrapped in plastic wrap and foil for up to 1 month. Thaw at room temperature or in the refrigerator before serving.
Frequently Asked Questions
Yes, but it will make the cheesecake sweeter; reduce the sugar in the filling by a couple of tablespoons if desired.
What kind of coconut milk should I use?
Use canned, unsweetened full-fat coconut milk. Avoid the carton types found in the refrigerator section.
I don’t have a stand mixer. Can I still make this recipe?
Yes! You can use a handheld mixer or a large food processor instead.