Peppermint Marshmallows – A Delightful Treat for the Holidays
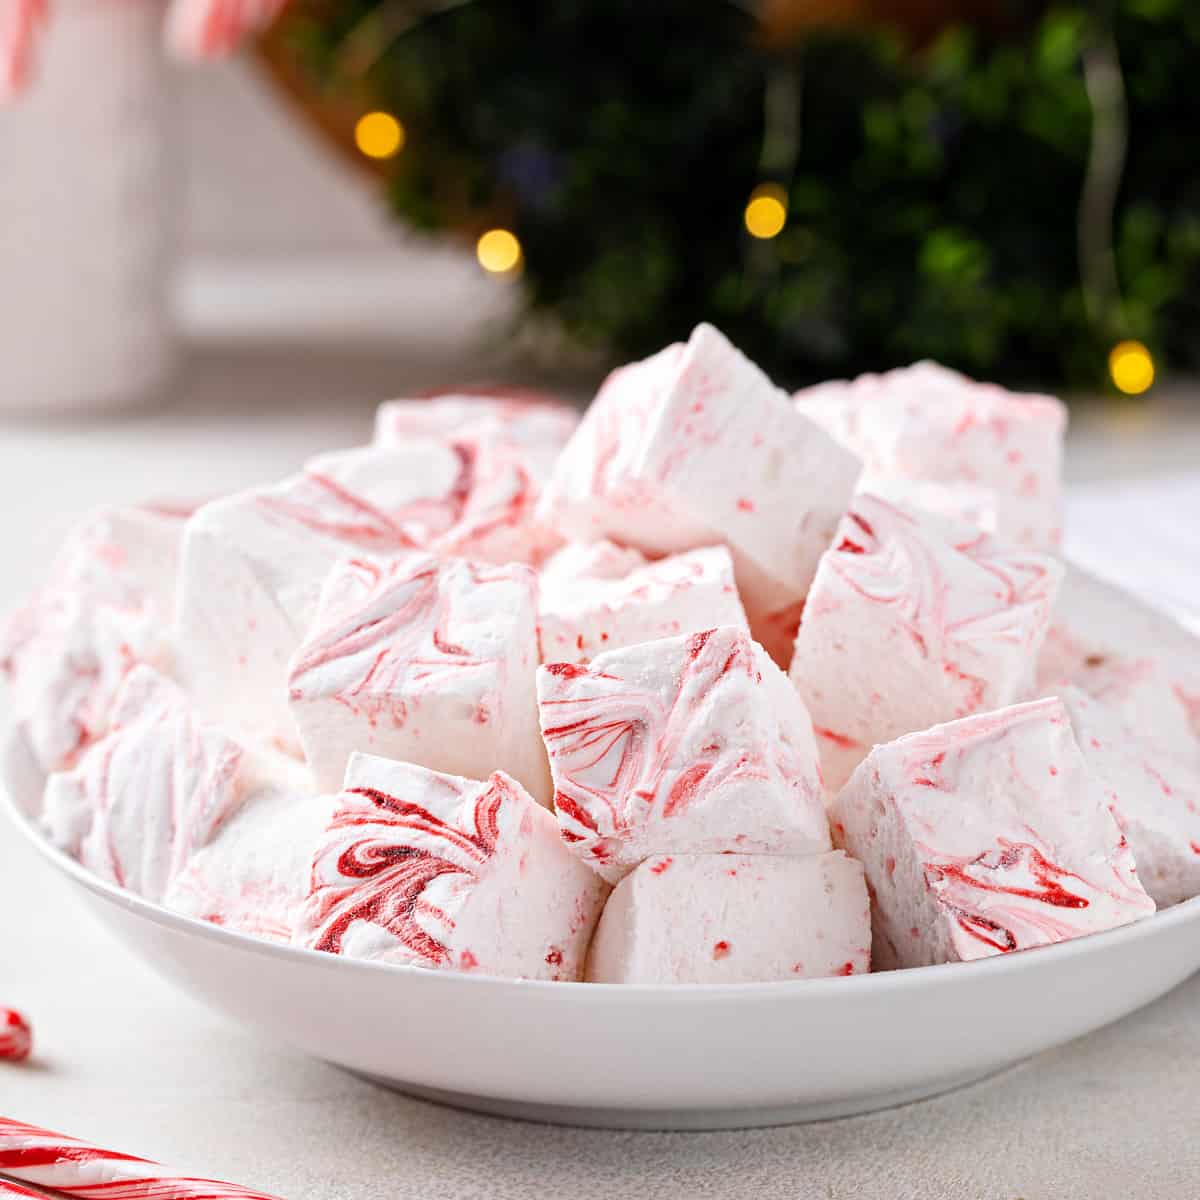
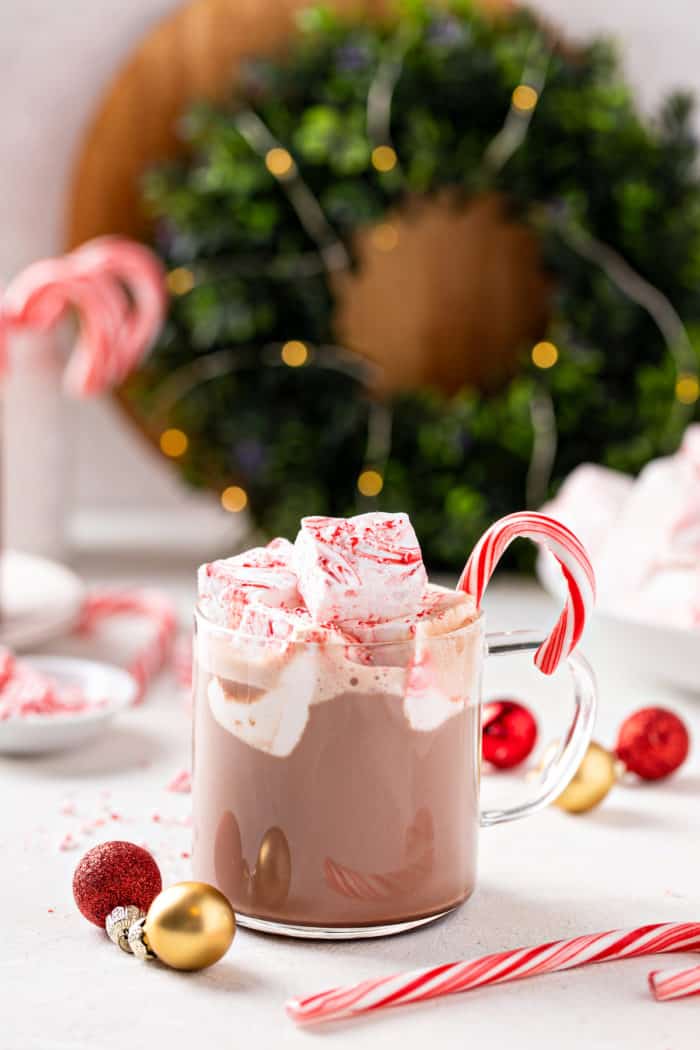
With just the right amount of refreshing peppermint flavor and a festive red swirl, these homemade peppermint marshmallows are the very best way to dress up your favorite hot chocolate this winter.
I have been obsessed with marshmallows basically since I could chew. I’ve never been picky about them, either. Whether it’s straight from the bag or as part of a s’more (or even better, giant s’mores cookies), you can count me in. I’ll even devour stale Peeps. Yes, you heard me. I like my Peeps stale!
Once you try a homemade marshmallow, you’ll never go back to the bagged ones again. This year, I’m making some of these adorable peppermint marshmallows to share with friends and family. And I think you should, too!
THE VERY BEST PEPPERMINT MARSHMALLOWS
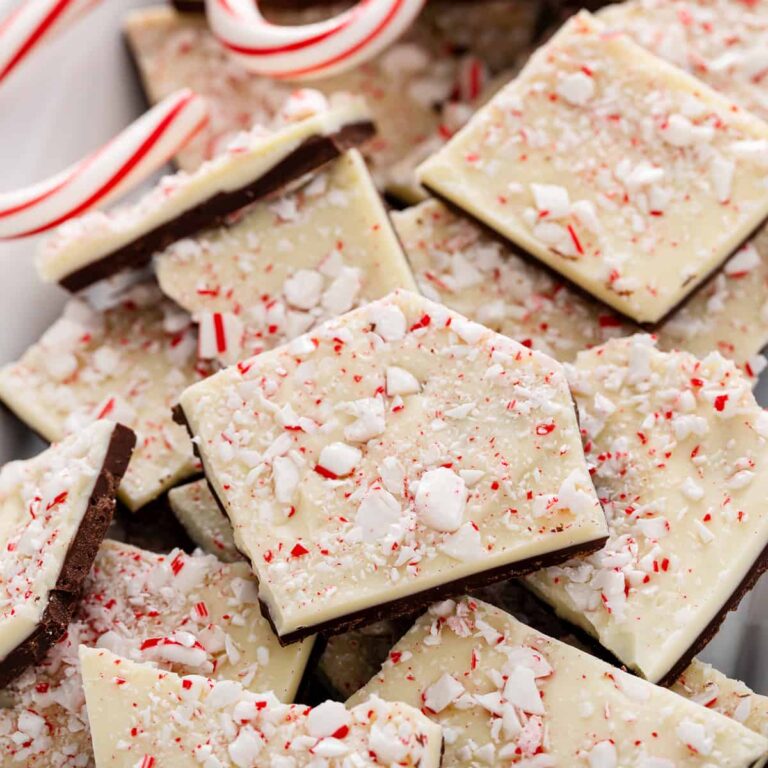
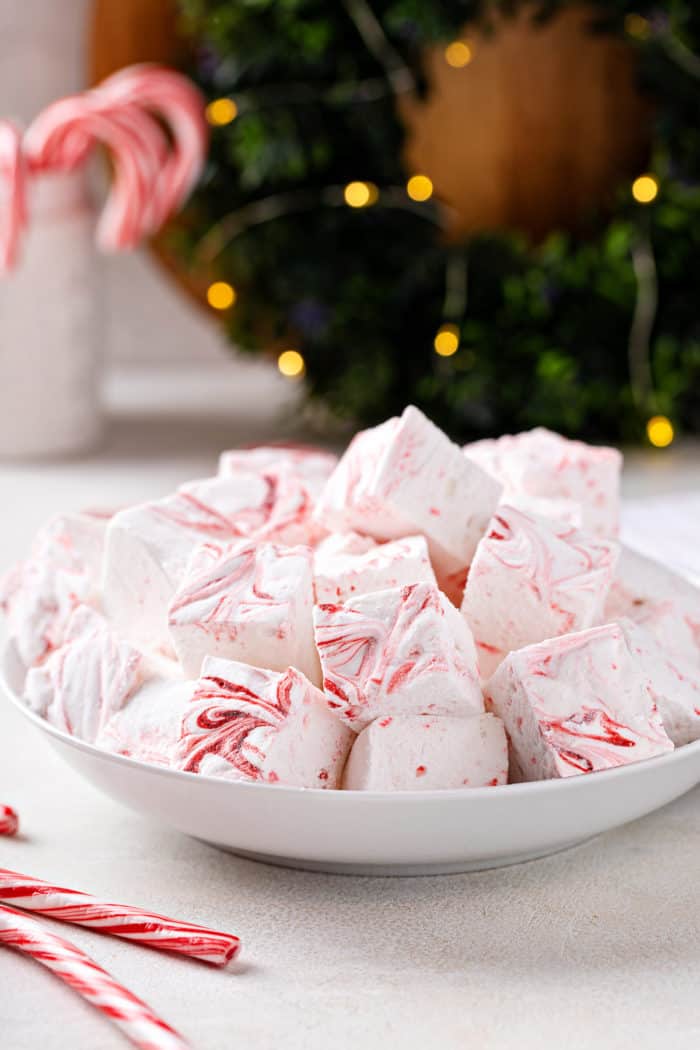
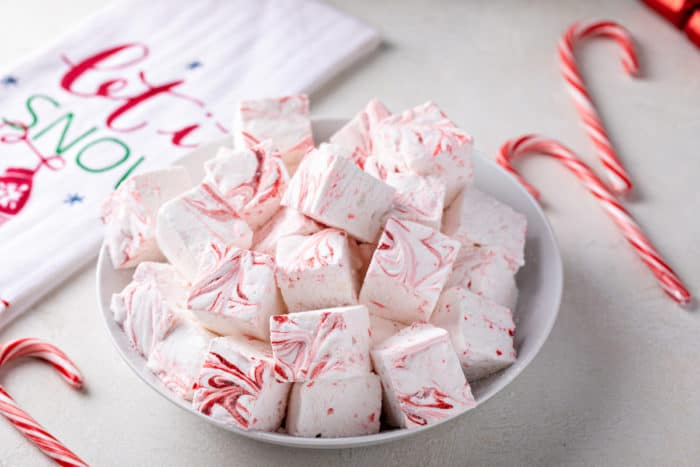
If you’re like me and love indulging in treats like peppermint bark and peppermint brownies this time of year, then I can bet you’ll love these peppermint marshmallows, too. They have all the light, fluffy texture we love in homemade marshmallows with just the right amount of peppermint flavor added in. I even added a red swirl on the top. It’s totally optional, but it looks super cute!
There’s also an option to add some crushed peppermint candy canes into the mixture. I have made these both with and without the candy canes, and I love them both ways, depending on if you like the crunchy texture in your marshmallows.
These peppermint marshmallows make a perfect gift for neighbors, Secret Santa, or as a hostess gift this holiday season.
HOW TO MAKE PEPPERMINT MARSHMALLOWS
Unlike some candy recipes, you don’t need a candy thermometer to make homemade marshmallows. Just make sure you read through the instructions carefully and have all of your ingredients measured out and ready to go before you start.
Ingredients you’ll need
- ¾ cup water
- 3 envelopes unflavored gelatin
- ⅔ cup light corn syrup
- 2 cups white sugar
- 1 tablespoon pure vanilla extract
- ½ teaspoon peppermint extract
- ½ cup finely crushed candy canes (optional)
- Red gel food coloring (optional)
- ¼ cup cornstarch
- ¼ cup confectioners’ sugar
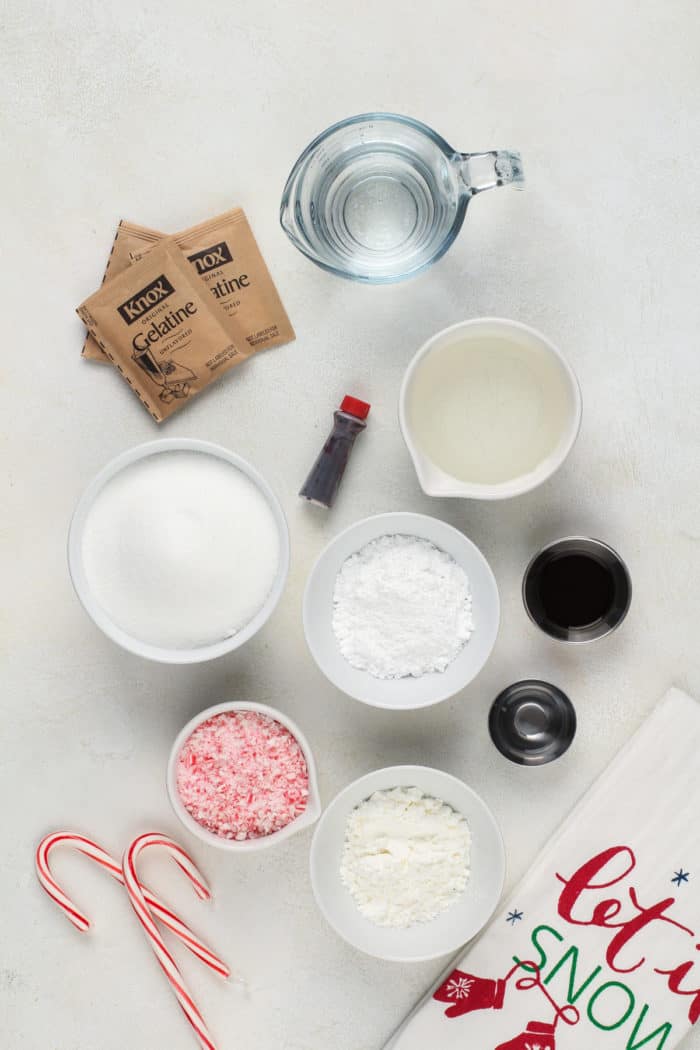
Look for unflavored gelatin in the baking aisle. It will be by the flavored gelatins but comes in a smaller box containing several envelope packets. Knox is the most common brand of unflavored gelatin here in the States. Light corn syrup is extremely common in candy recipes, helping to prevent sugars from crystalizing.
If you prefer, you can substitute honey for corn syrup, keeping in mind that honey may introduce its own flavor into the recipe. Make sure to use peppermint extract, not mint extract, as the two are distinctly different flavors. For the crushed candy canes, you can buy pre-crushed pieces during the holidays or crush your own if you have candy canes already.
Making peppermint marshmallows
First, prep a 9×9-inch pan by lining it with plastic wrap and spraying generously with nonstick spray. Spray another piece of plastic wrap and set it aside to cover the marshmallows later.

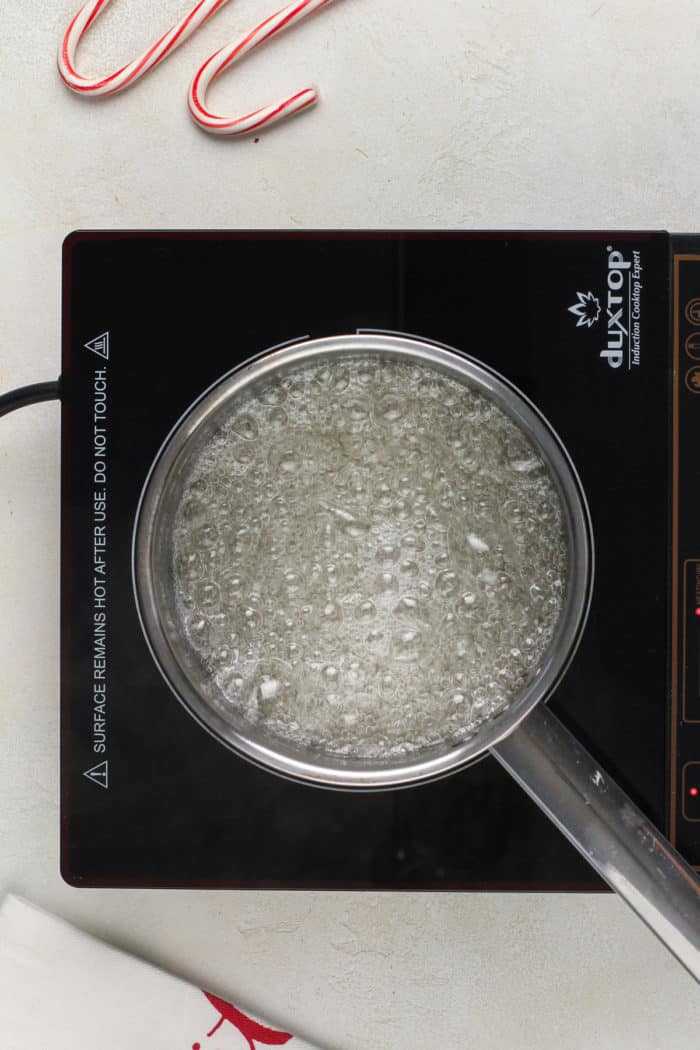
Add ½ cup of the water to a stand mixer bowl, sprinkle the gelatin over the top, and let it soak. In a saucepan, combine the remaining ¼ cup water, corn syrup, and sugar, and bring it to a boil over medium heat. Allow it to boil hard for 1 minute.
Carefully pour this hot mixture into the gelatin bowl and beat on high for 12 minutes until the mixture is fluffy and forms stiff peaks. Add in the vanilla, peppermint extract, and, if using, crushed candy canes before pouring it into the prepared pan and smoothing the top with a spatula.
If you want the red swirls, add 9-12 drops of red food coloring on top of the marshmallows and use a greased butter knife or chopstick to swirl the color into the mixture.
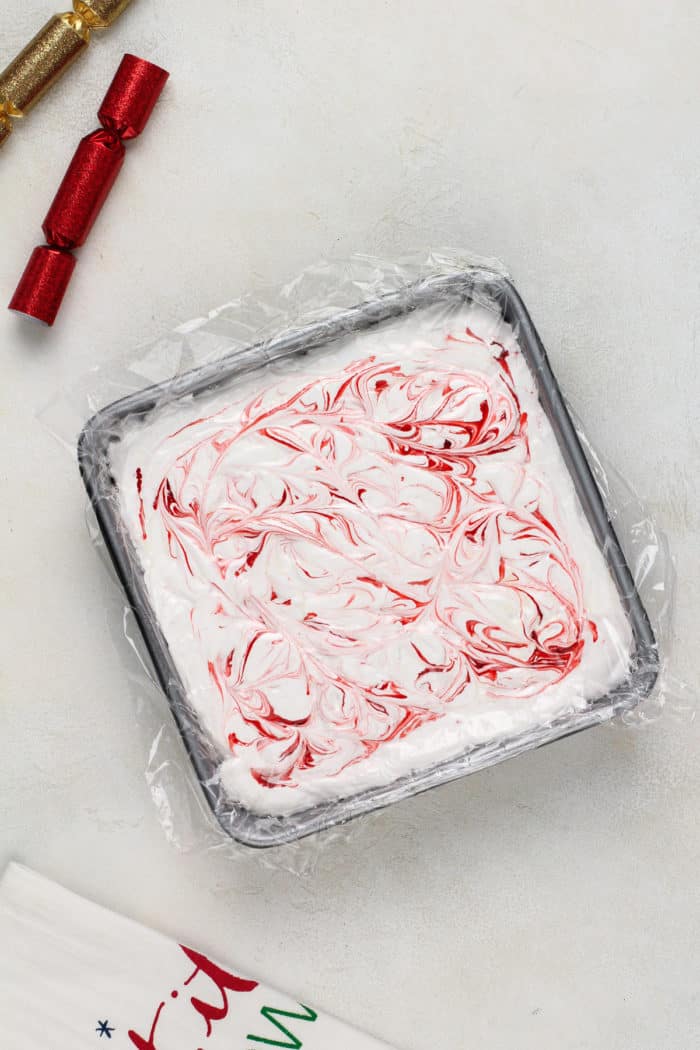
Cover the candy with the prepared plastic wrap, pressing it down to touch the surface of the marshmallows. Allow to rest at room temperature for 4 hours or overnight.
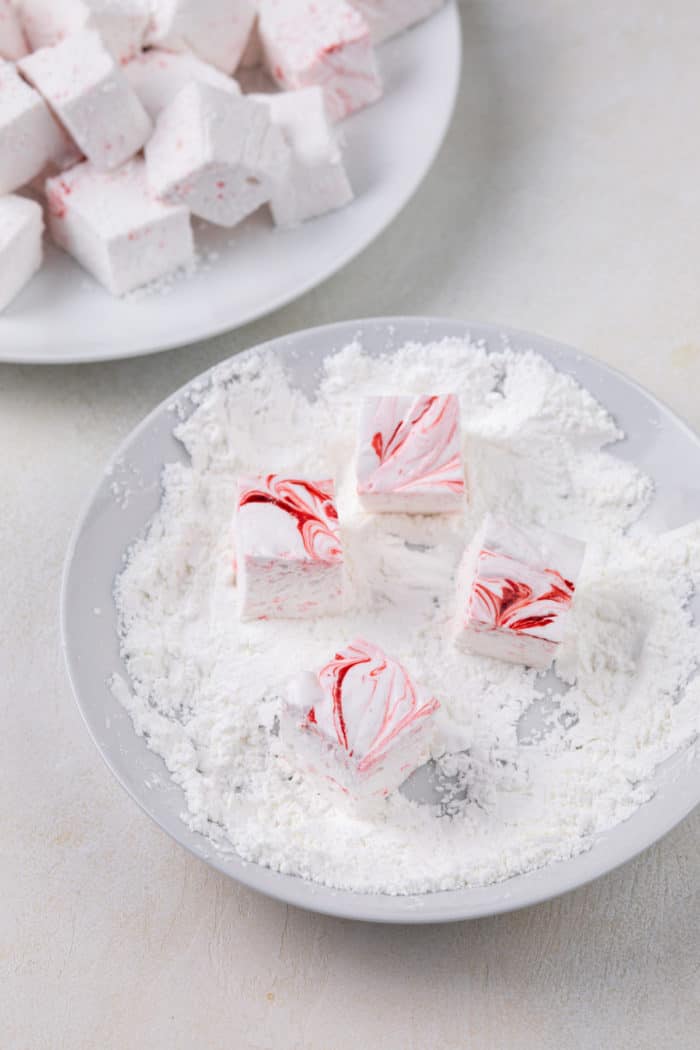
When ready to cut, mix cornstarch and powdered sugar in a shallow bowl. Lift the marshmallows from the pan using plastic wrap and cut into strips and then into 1-inch squares. Dredge the marshmallows lightly in the cornstarch mixture to prevent sticking, then store in an airtight container.
STORING HOMEMADE MARSHMALLOWS
Store peppermint marshmallows in an airtight container at room temperature for about a month. If you added crushed candy cane pieces, they may only last a couple of weeks due to moisture leaching from the candies.
To ensure longevity, you may want to skip the candy canes, as the peppermint flavor remains delightful without them. Avoid storing these marshmallows in the fridge or freezer, as moisture will ruin their texture.
USES AND GIFTING
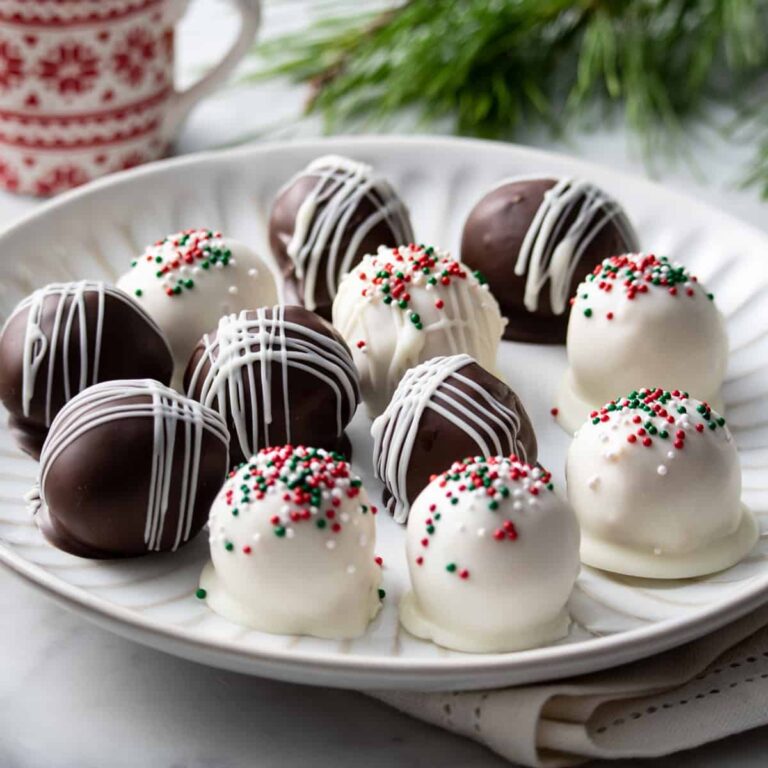
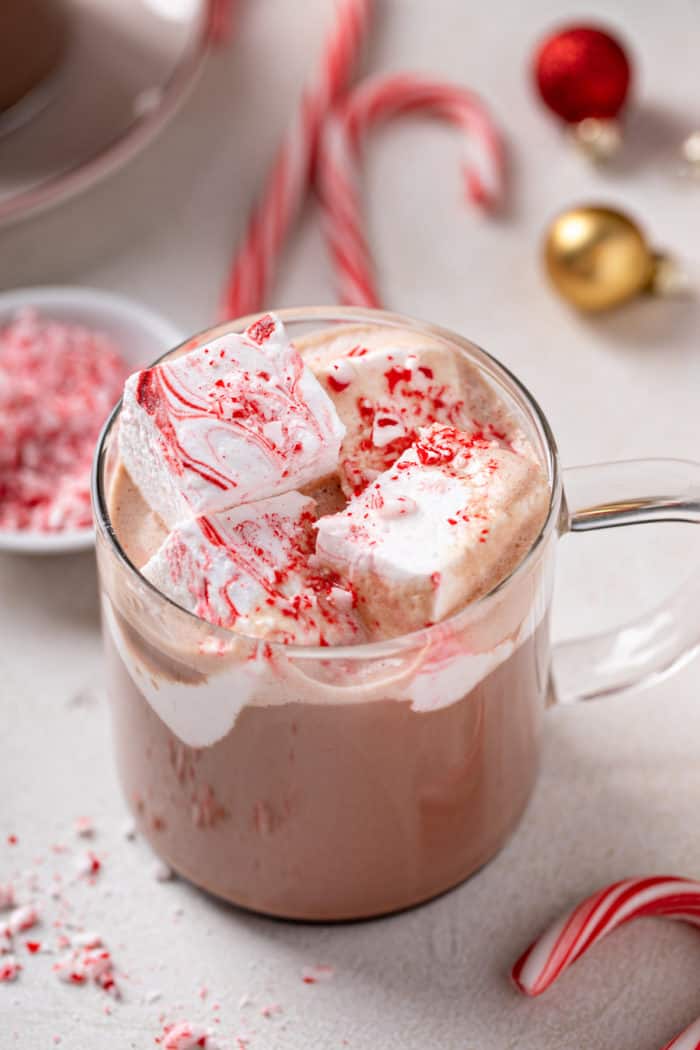
Homemade peppermint marshmallows are a delicious treat on their own but can also be the perfect topping for hot cocoa or homemade mocha lattes. For a more decadent option, consider making chocolate-covered marshmallows.
They also make a lovely homemade gift! Package them in cellophane bags or a festive tin, or combine them with hot cocoa mix and cute mugs to create an exciting gift basket.
FAQS
Are homemade peppermint marshmallows gluten-free?
Yes, all ingredients in these peppermint marshmallows are naturally gluten-free. If you need to consider cross-contamination, use certified gluten-free ingredients.
Can I store these marshmallows in the freezer?
It’s best to avoid storing homemade marshmallows in the freezer as moisture from the freezer will ruin them. They can last 2-4 weeks at room temperature in an airtight container.
Do I have to use corn syrup? Is there a substitute?
Honey is a suitable substitute for corn syrup, but be aware it will impart additional flavor compared to the neutral corn syrup. Outside the U.S., golden syrup could be a good alternative.
Do I need a mixer to make this recipe?
A mixer is essential for this recipe, as the marshmallow mixture must be beaten for 12 minutes on high. A stand mixer is recommended, but a handheld mixer could work if you’re willing to mix longer.
Can I cut the marshmallows into different shapes?
Absolutely! Basic cookie cutters can be used, and ensure they’re greased before pressing into the marshmallows. Cut any leftover scraps and dredge them too!
What does an “oiled” knife mean?
This means that you have sprayed the knife or scissors with nonstick cooking spray to prevent the sticky marshmallows from adhering to them.